


Hey there! As a supplier of LPG hoses, I've seen firsthand how crucial it is to ensure the correct alignment of an LPG hose during installation. It's not just about getting the job done; it's about doing it right to guarantee safety and optimal performance. In this blog, I'll share some tips and tricks on how to achieve that perfect alignment every time.
Understanding the Basics
First things first, let's talk about why alignment matters. An LPG hose that's not properly aligned can lead to a whole bunch of problems. It can cause leaks, which are not only a waste of fuel but also a serious safety hazard. A misaligned hose can also put extra stress on the fittings and connections, leading to premature wear and tear. This can ultimately result in costly repairs or even a complete failure of the system.
So, what exactly do we mean by "correct alignment"? Well, it means that the hose is straight and properly connected to both the LPG source and the appliance. There should be no kinks, twists, or bends that could restrict the flow of gas or cause unnecessary stress on the hose.
Pre-Installation Checks
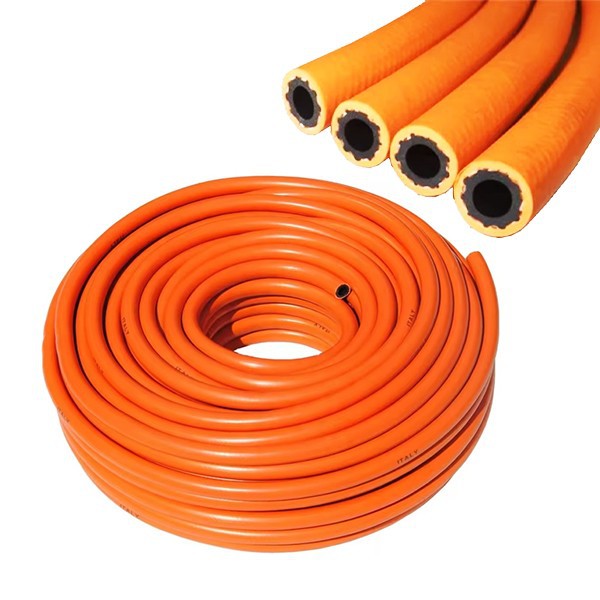
Before you even start installing the LPG hose, it's important to do a few pre-installation checks. First, make sure you have the right hose for the job. LPG hoses come in different sizes and specifications, so it's crucial to choose one that's compatible with your LPG system and the appliance you're connecting it to. You can find a wide range of LPG hoses on our website Lpg Hose.
Next, inspect the hose for any signs of damage or wear. Look for cracks, cuts, or abrasions on the surface of the hose. If you notice any damage, don't use the hose. It's better to replace it with a new one to ensure safety.
Also, check the fittings and connections. Make sure they're clean, free of debris, and in good condition. Any dirt or debris on the fittings can prevent a proper seal, leading to leaks.
Measuring and Marking
Once you've selected the right hose and inspected it for damage, it's time to measure and mark the installation area. Measure the distance between the LPG source and the appliance, and add a little extra length to allow for some flexibility. It's better to have a slightly longer hose than one that's too short.
Use a tape measure to get an accurate measurement, and mark the position of the hose on the wall or floor using a pencil or marker. This will help you ensure that the hose is installed in the correct position and alignment.

Mounting the Hose
Now that you've measured and marked the installation area, it's time to mount the hose. Start by attaching the fittings to the ends of the hose. Make sure they're tightened securely, but don't over-tighten them as this can damage the hose or the fittings.
Next, position the hose along the marked line and secure it in place using hose clamps or brackets. Make sure the hose is straight and there are no kinks or twists. If necessary, use additional supports or guides to keep the hose in place.
Connecting to the LPG Source and Appliance
Once the hose is mounted, it's time to connect it to the LPG source and the appliance. Start by connecting the hose to the LPG source, such as a gas cylinder or a pipeline. Make sure the connection is tight and there are no leaks. You can use a leak detector or a soapy water solution to check for leaks.
Next, connect the other end of the hose to the appliance. Again, make sure the connection is tight and there are no leaks. Some appliances may require a specific type of fitting or adapter, so make sure you have the right one before you start connecting the hose.
Final Checks
After you've connected the hose to the LPG source and the appliance, it's important to do a final check to ensure everything is in order. Turn on the LPG supply and check for any leaks using a leak detector or a soapy water solution. Look for bubbles around the fittings and connections, which indicate a leak.
If you find a leak, turn off the LPG supply immediately and tighten the fittings or connections. If the leak persists, it may be necessary to replace the hose or the fittings.
Also, check the alignment of the hose again to make sure it's still straight and there are no kinks or twists. Make any necessary adjustments to ensure the hose is properly aligned.
Other Types of Rubber Hoses
In addition to LPG hoses, we also offer a variety of other rubber hoses, such as Rubber Water Hose and Rubber Air Hose. These hoses are designed for different applications and have their own unique features and benefits.
Rubber water hoses are commonly used for watering gardens, washing cars, and other outdoor water-related tasks. They're flexible, durable, and resistant to kinking and abrasion.
Rubber air hoses, on the other hand, are used for pneumatic tools and equipment. They're designed to withstand high pressures and provide a reliable supply of compressed air.
Conclusion
Ensuring the correct alignment of an LPG hose during installation is crucial for safety and optimal performance. By following the tips and tricks outlined in this blog, you can ensure that your LPG hose is installed correctly and aligned properly.
If you have any questions or need further assistance with LPG hose installation or any other type of rubber hose, don't hesitate to contact us. We're here to help you find the right hose for your needs and ensure a safe and successful installation.
References
- "LPG Hose Installation Guide," Industry Standards Publication
- "Rubber Hose Safety and Maintenance," Manufacturer's Manual