



Hey there! I'm a supplier of special hydraulic hoses, and I know how crucial it is to install these hoses correctly. A proper installation not only ensures the efficient operation of your hydraulic systems but also extends the lifespan of the hoses. In this blog, I'll walk you through the steps to install a special hydraulic hose correctly.
Step 1: Preparation
Before you start the installation process, you need to gather all the necessary tools and materials. You'll typically need a hose cutter, a deburring tool, a torque wrench, and of course, the special hydraulic hose and fittings that are suitable for your application. Make sure the hose and fittings are clean and free from any dirt, debris, or damage.
It's also important to measure the length of the hose accurately. You don't want it to be too long or too short. A hose that's too long can create unnecessary bends and kinks, which can restrict the flow of hydraulic fluid and cause premature wear. On the other hand, a hose that's too short can put excessive stress on the fittings and connections.
Step 2: Cutting the Hose
Once you've measured the length, it's time to cut the hose. Use a high - quality hose cutter to make a clean, straight cut. Avoid using dull or inappropriate cutting tools, as they can cause uneven cuts, fraying, or damage to the hose's internal structure.
After cutting the hose, use a deburring tool to remove any sharp edges or burrs from the cut end. Sharp edges can damage the O - rings and seals in the fittings, leading to leaks.
Step 3: Selecting the Right Fittings
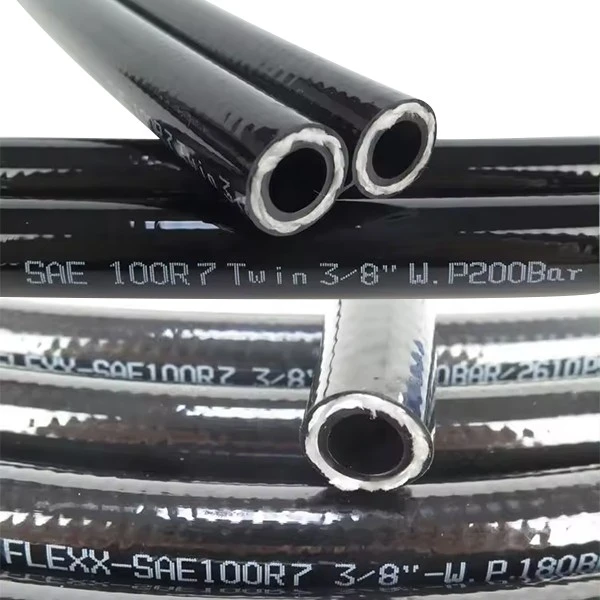
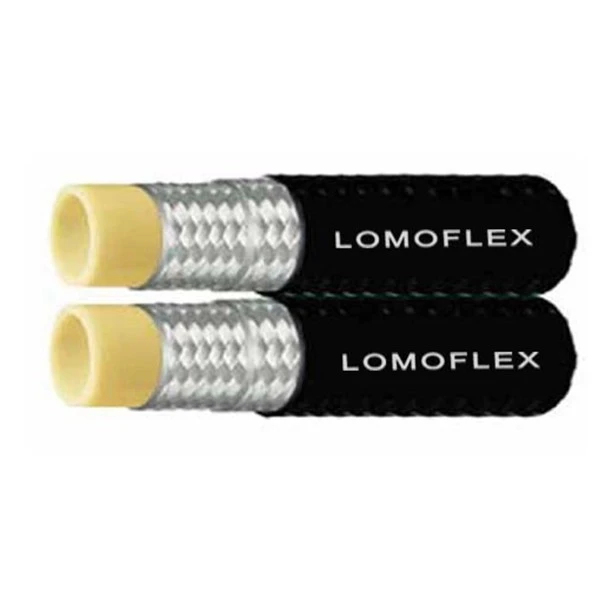
Choosing the correct fittings is vital. The fittings should be compatible with the type of hydraulic hose you're using. For example, we offer Sae100 R8 Thermoplastic Hose and Sae100 R7 Thermoplastic Hose, each requiring specific fittings.
Consider factors such as the size, thread type, and pressure rating of the fittings. The size of the fitting should match the outer diameter of the hose, and the thread type should be compatible with the equipment you're connecting to. The pressure rating of the fittings must be equal to or higher than the maximum pressure of the hydraulic system.
Step 4: Attaching the Fittings
There are different methods for attaching fittings to the hose, depending on the type of hose and fitting. For some hoses, you can use a crimping machine. The crimping process involves applying pressure to the fitting to secure it onto the hose. Make sure to follow the manufacturer's instructions when using a crimping machine. Set the correct crimp diameter based on the hose and fitting specifications.
For other types of hoses, you may use a reusable fitting system. These fittings can be installed without the need for a crimping machine. However, you still need to ensure that the fitting is tightened properly. Use a torque wrench to apply the correct amount of torque. Over - tightening can damage the fitting or the hose, while under - tightening can result in leaks.
Step 5: Inspecting the Installation
After attaching the fittings, give the entire installation a thorough inspection. Check for any signs of damage, such as cuts, abrasions, or kinks in the hose. Make sure the fittings are properly seated and tightened.
Inspect the connections for any visible leaks. You can do a simple pressure test to check for leaks. Apply a small amount of pressure to the hydraulic system and look for any signs of fluid seeping out from the connections.
Step 6: Mounting the Hose
Once you're satisfied with the installation and inspection, it's time to mount the hose in the hydraulic system. Route the hose carefully to avoid sharp bends or contact with sharp edges or moving parts. Use hose clamps or brackets to secure the hose in place.
Make sure the hose has enough flexibility to accommodate the movement of the equipment without being stretched or compressed too much. A well - routed and mounted hose will be less likely to experience premature wear and tear.
Step 7: Final Checks
Before putting the hydraulic system into full operation, do one last check. Make sure all the valves are in the correct position, and the hydraulic fluid level is appropriate.
Start the system slowly and monitor the performance. Listen for any unusual noises, such as rattling or hissing, which could indicate a problem with the hose installation. Check the pressure gauges to ensure that the system is operating within the normal range.
Common Mistakes to Avoid
- Using the Wrong Fittings: As mentioned earlier, using incompatible fittings can lead to leaks and system failures. Always double - check the specifications of the hose and fittings.
- Poor Cutting and Deburring: A messy cut or un - deburred edges can cause problems down the line. Take the time to make a clean cut and remove any sharp edges.
- Improper Crimping or Tightening: Whether you're using a crimping machine or a reusable fitting system, applying the wrong amount of pressure or torque can be a major issue. Follow the manufacturer's guidelines carefully.
- Incorrect Routing: Routing the hose in a way that causes excessive bends or contact with other components can reduce the lifespan of the hose and affect the performance of the system.
In conclusion, installing a special hydraulic hose correctly is a multi - step process that requires attention to detail. By following these steps and avoiding common mistakes, you can ensure that your hydraulic system operates smoothly and efficiently.
If you're in the market for high - quality special hydraulic hoses or have any questions about installation, feel free to reach out. I'm here to help you with your procurement needs and ensure that you get the best products for your applications.
References
- Hydraulic Hose Installation Manuals
- Industry Standards for Hydraulic Systems